
Apogee Symphony I/O MK II 16X16Se PTHD Plus
Interfaccia Audio Professionale + Modulo I/O 16X16


Interfaccia Audio Professionale + Modulo I/O 16X16
L'interfaccia audio professionale Apogee Symphony I/O Mk II 16X16Se PTHD Plus è costituita da uno chassis e un modulo I/O 16X16, progettati per offrire prestazioni audio di altissima qualità. Questa configurazione include 16 ingressi e 16 uscite analogiche bilanciate, distribuite su 4 connettori D-SUB 25, insieme a ingressi e uscite coassiali (2 canali SPDIF a 192 KHz), rendendola ideale per studi di registrazione professionali.
Caratteristiche
- Interfaccia audio professionale
- Chassis + modulo I/O 16X16
- 16 In e 16 Out analogici bilanciati
- 4 connettori D-SUB 25
- In e Out coassiali (2 canali SPDIF a 192 KHz)
- Verificare i requisiti minimi di sistema sul sito del costruttore
- Compatibilità con i sistemi operativi Mac (consultare il sito del costruttore)
Maggiori Informazioni
| SKU | 401757 |
|---|---|
| BarCode | 0805676301846 |
| Modello | Symphony I/O Mk II 16X16Se PTHD Plus |
| Condizione | Nuovo |
Info produttore
Info aggiuntive
Spedizione Gratuita
Video
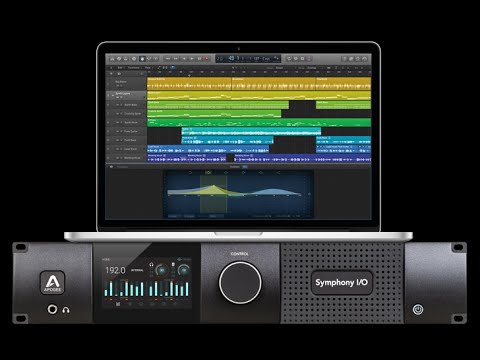
Apogee Symphony I/O Mk II Thunderbolt - Getting Started with Logic Pro X
In this tutorial, we’ll show you how to setup Apogee Symphony I/O Mk II Thunderbolt with Logic Pro X. To follow this tutorial, you will need to have Symphony I/O connected and installed…along with the latest version of Logic Pro X.
STEP 1: Open Logic and create a new session. Select empty project.
STEP 2: Click on “Details", now click on the arrow next to “Input Device”…a new Window will appear.
STEP 3: For output device, select "Symphony I/O Thunderbolt". Input device will automatically change to Symphony I/O Thunderbolt as well.
STEP 4: Set the buffer to 64. For best latency, you can set the buffer lower but you may need to adjust the buffer higher depending on the size of the project you’re working on.
STEP 5: Click “Apply Changes”
STEP 6: Under the “General" tab (in the preferences window), make sure “Software Monitoring” is selected and close the preferences window.
STEP 7: Under input, select the Symphony input that you’ll be using to record on your first channel.
STEP 8: Now select the output you’ll be using. The input and output can always be changed later in Logic.
If you would like to change the sample rate of the session, go to the “Record” tab and choose "Recording Settings”. Now select the audio tab and choose your sample rate. Symphony I/O will change to whatever the session’s sample rate is set to.
STEP 9: After selecting the input you wish to use, make sure your headphones or speakers are connected and the output level is setup properly, following the Symphony I/O QuickStart Guide: apogeedigital.com/support/symphony-io-mk-ii#tab-id-2
STEP 10: Make sure record enable is select on the track you would like to record on, adjust your levels and record.
Learn more about Symphony I/O Mk II: apogeedigital.com/products/symphony-io
Dal Blog


Scrivi la tua recensione
Scopri di più